How are the small solar panels for landscape lighting produced ?
In our last post, we introduced the the solar panel encapsulation, and the types of the solar panels for solar lighting. In this article we will introduce how are the small solar panels for solar lighting produced. At present, we know there are three kind of solar panels are applied for solar lighting: Glass laminated solar panel, PET laminated solar panel and Epoxy resin solar panel. Which most used are the last two, PET laminated, and Epoxy resin.
The main steps of solar panel encapsulation process:
1). Solar cell laser cutting
As the solar panels used on solar lighting are usually small, so the solar cells need to cut into small pieces to meet the request, the size of the cells depends on the power rate or size of solar panels. At present the most used solar panels for solar lighting are 40x40mm ,50x50mm, 60x60mm or diameter 69mm , diameter 89mm. The power rate are from 0.16w to 0.5w.
In order to get the required size or power of solar cells, the cutting route should be designed and sketched to make sure the solar cells are best utilized. According to the performance of the solar lighting, different kind solar rechargeable batteries are used, that will have the different voltage, the most used are 1.2V NI-MH rechargeable battery, and 3.2V LiFePO4 battery. In order to charge these voltage batteries, the solar panel voltage will be different, generally the 2V solar panels is for 1.2V battery, and 4.5V solar panel for 3.2V battery charging.
The working voltage of each solar cell is around 0.4-0.5V whatever the size is, so after cutting a piece of solar cell into two small pieces, the voltage of each piece of solar cells is same at 0.4-0.5V. the power of solar cell and the area of solar cell will be proportional. So for example, in order to have the 2V/60x60mm solar panel , it needs to 4 solar cells connect in series to reach to 2V (0.5V x 4 pieces), and each cells should be controlled in the size less than 60x15mm (have to consider the gaps between cells). so the area of the required cell sheet and number of cells can be calculated accordingly.
When cutting, the depth of the cut is generally controlled to 1/2-2/3 of thickness of the solar cell, which is mainly controlled by adjusting the operating current of the machine. If the scratch depth is insufficient, it is easy to break the solar cell sheet when the solar cell is broken by hand along the scratch, as the cells are thin and crisp.
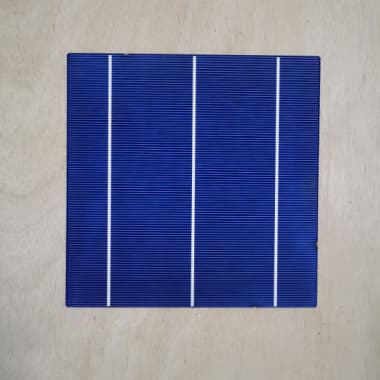
solar cell
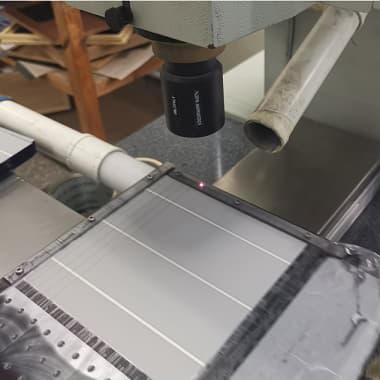
laser cutting
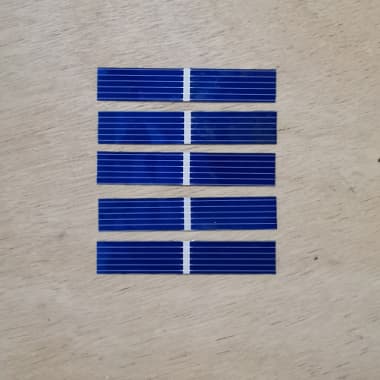
small solar cells
2). solar cells welding
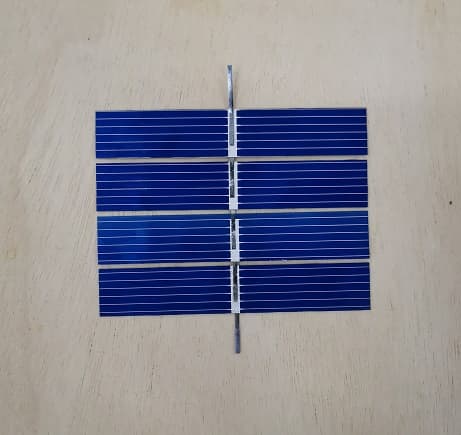
After the solar cells are cut into small pieces, it need to be connected in series to reach to the required voltage, as introduced above, the voltage of each solar cell is around 0.5V , in order to reach to the required 2V or 4.5V , the solar cells need to be connected in series with 4 pieces or 9 pieces by interconnect strips, the welding temperature is controlled at 360-380°C.
In recently years, because of rising of labour cost, the machines are widely applied in different industries to replace the manpower. The automatic welding machines greatly improved the production efficiency.
The machine will first connect the interconnect strip on the main grid line on the front side of the cell, and then place the second cell on the soldered cell. The interconnect strip of the first solar cell is welded to the back electrode of the latter solar cell to form a 4 or 9 pieces solar cell string with positive and negative lead wires.
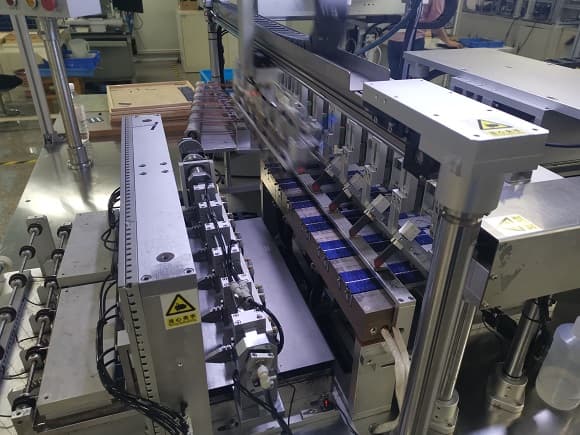
3). Put cells string on a PCB plate
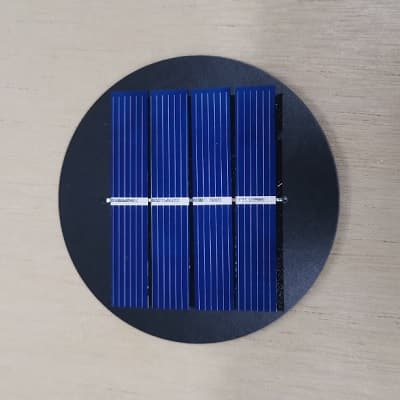
Because the solar cells are very thin and brittle, it is fragile, so it need to be put on a base that can support and protect it from damage. And the interconnect strips are put through the hole on the PCB for soldering and later connecting with electronic parts.
4). Solar Cells Testing
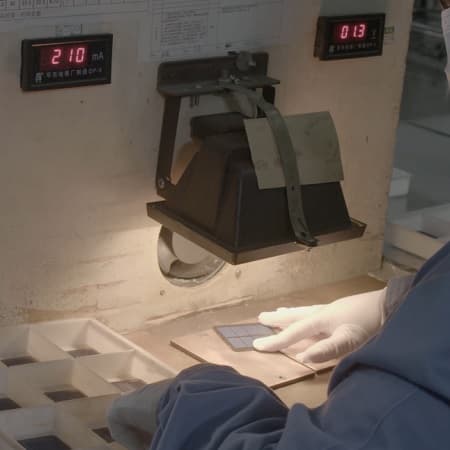
Solar cell testing refers to classifying solar cells by testing the output parameters (current and voltage), to make sure the later encapsulated solar panel reach to the required power, and in order to improve the utilization rate of solar cells, and produce quality solar panels. As once it is encapsulated with epoxy resin or PET, it is difficult to fix, so it need to have testing and fix in case can not meet the required power.
5). Solar panel laminating or gluing:
After the solar cell string has passed the inspection, the solar cell string with PCB bottom plate , the PET and the cut EVA are laid at a certain level to prepare for lamination. When laying, ensure the relative position of the solar cell string and PET and other materials, adjust the distance between the solar cells.
Laying level: from bottom to top: PCB plate, solar cells, EVA, PET.
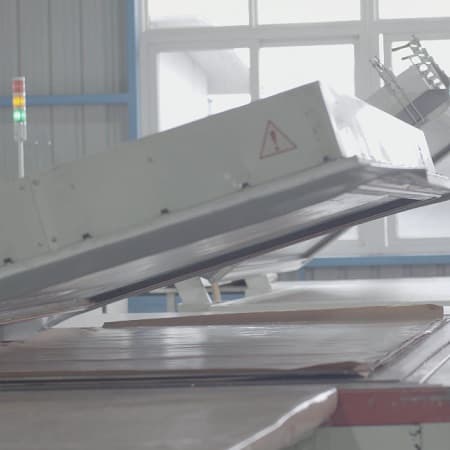
The laid solar cell is placed in a laminating machine, the air in the solar panel is extracted by vacuuming, and then heated to fuse the EVA to bond the solar cell, the PET and the bottom PCB plate together; finally, the solar panel is taken out by cooling. The lamination process is a key step in the production of solar panels. The lamination temperature and lamination time are determined by the nature of the EVA. After lamination, there should be no air bubbles in the solar panel, the solar cell strings are evenly spaced, and the bus bars are straight.
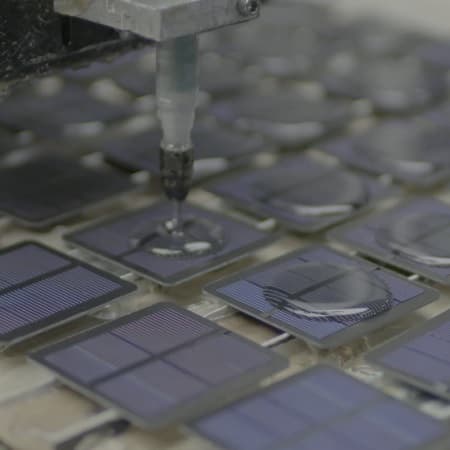
Another encapsulation method is by gluing epoxy resin on the surface of solar cells and PCB, then put it in an oven to extract the bubble in the glue, and heat to cure, after around 2 hours later, the epoxy resin is hard and transparent, the solar cells inside is greatly protected.
6). Solar panel test
The solar panel's output electrical characteristics and output power were tested using a solar panel tester. At the same time, it is necessary to test the parameters such as the pressure resistance and insulation strength to ensure that the solar panel meets the requirements of the standard.
